
If you’re finding yourself staring at a bulky and unused treadmill taking up precious space in your home, you may be wondering how to disassemble it. Fortunately, dismantling a treadmill is not as daunting as it may seem. In this article, we will provide you with easy-to-follow steps and tips on how to safely and effectively disassemble a treadmill. Whether you’re looking to store it away or simply get rid of it, we’ve got you covered. So let’s get started on reclaiming that valuable space in your home!
Gather Necessary Tools and Materials
Before you begin disassembling your treadmill, it’s important to gather all the necessary tools and materials. This will ensure that you have everything you need to successfully complete the task.
Prepare the Required Tools
Here are the tools you’ll need for disassembling your treadmill:
- Screwdriver (Phillips and flathead)
- Allen wrenches
- Adjustable wrench
- Pliers
- Wire cutters or strippers
- Socket set
- Hammer
- Rubber mallet
- Safety goggles and gloves
Make sure you have these tools handy before you start disassembling your treadmill. Having the right tools will make the process much easier and smoother.
Prepare the Workspace
Creating a suitable workspace is crucial when it comes to disassembling a treadmill. You’ll need enough room to maneuver around the treadmill and lay out the various parts easily.
Choose a well-lit area that is clean and free from any obstacles. It’s also a good idea to lay down a protective mat or sheet to prevent any damage to the floor or the treadmill components.
Disconnect the Treadmill
Before starting the disassembly process, you must ensure that the treadmill is disconnected from the power source. Unplug the power cord from the outlet and remove any batteries if applicable. This step is vital for your safety and to prevent any potential damage to the electrical components of the treadmill.
Remove the Running Belt
The first step in disassembling a treadmill is removing the running belt. Follow these steps carefully:
Unplug the Treadmill
Ensure that the treadmill is still disconnected from the power source before proceeding. This step guarantees your safety throughout the disassembly process.
Locate the Motor Hood
The motor hood is typically located at the front of the treadmill, covering the motor and other internal components. It may be secured with screws or clips.
Detach the Motor Hood
Using a screwdriver or the appropriate tool, carefully remove the screws or release the clips that secure the motor hood in place. Set them aside in a safe place, as you’ll need them when reassembling the treadmill later.
Loosen the Tension on the Belt
Locate the tension adjustment bolts on either side of the treadmill deck. Use the appropriate tool to loosen these bolts, which will relieve the tension on the running belt.
Remove the End Cap Screws
Next, remove the end cap screws on both sides of the treadmill. These screws secure the front roller and end caps in place.
Slide out the Front Roller
Gently slide the front roller out from under the walking belt. Be careful not to damage the belt or the roller during this step.
Detach the Front Roller from the Walking Belt
Once the front roller is free from the walking belt, detach it completely by removing any remaining screws or bolts. Set the roller aside for later reassembly.

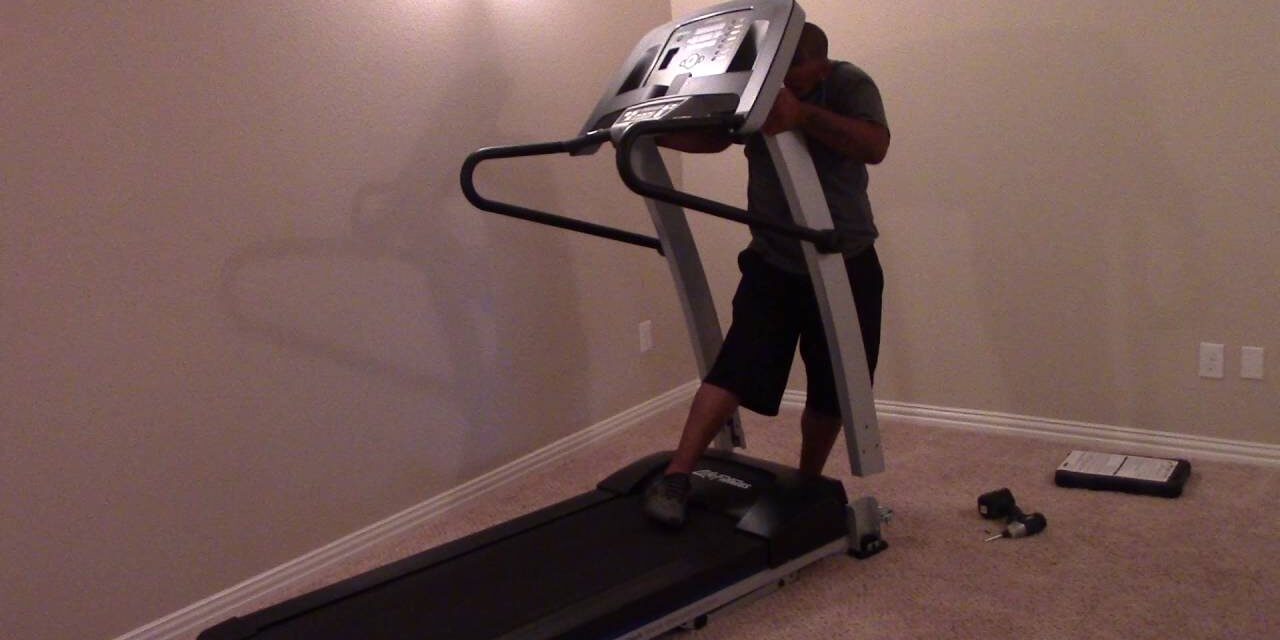
This image is property of i.ytimg.com.
Fold and Remove the Console
Now that the running belt is removed, it’s time to fold and remove the console.
Fold the Console Flat
If your treadmill has a folding console, carefully fold it flat to make it easier to work with during the disassembly process. Follow the manufacturer’s instructions for proper folding techniques.
Disconnect the Console Wires
Locate the wires that connect the console to the treadmill’s internal components. Use wire cutters or strippers to disconnect these wires carefully. Keep track of which wire goes where to simplify the reassembly process.
Release Console Support Bracket
There may be a support bracket holding the console in place on the uprights. Locate this bracket and release it by unscrewing or unclipping it. This will allow you to remove the console more easily.
Detach the Console from the Uprights
Once the support bracket is released, carefully detach the console from the uprights. Be cautious not to damage any wires or delicate components during this step.
Disassemble the Uprights and Handlebars
After removing the console, it’s time to disassemble the uprights and handlebars of the treadmill.
Remove the Safety Key
Ensure that the treadmill is still disconnected from the power source. Locate the safety key near the console and remove it. This step prevents any accidental activation of the treadmill while you’re disassembling it.
Unscrew the Upright Bolts
Using the appropriate tools, unscrew the bolts that secure the uprights to the base of the treadmill. Set the bolts aside, as you’ll need them for reassembly later.
Remove the Uprights
Once the bolts are removed, carefully detach the uprights from the treadmill base. Take caution not to damage any wires or components that may be attached to the uprights.
Detach the Handlebars
If your treadmill has handlebars, locate the screws or bolts that attach them to the uprights. Carefully remove these screws or bolts and detach the handlebars.

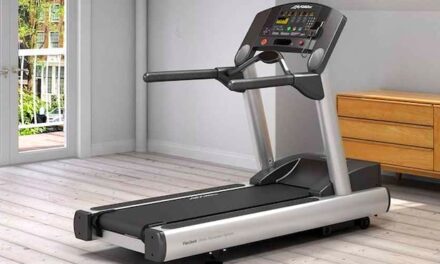
This image is property of i.ytimg.com.
Take Apart the Frame and Base
With the uprights and handlebars removed, it’s time to disassemble the frame and base of the treadmill.
Disconnect the Power Cord
Before proceeding, ensure that the treadmill is still disconnected from the power source. Safely disconnect the power cord from the treadmill.
Remove the Motor Hood
If the motor hood is still in place, refer back to the earlier steps and detach it from the treadmill.
Release the Frame Lock
Depending on the design of your treadmill, there may be a frame lock that secures the frame in place. Release this lock according to the manufacturer’s instructions, allowing the frame to be disassembled.
Unscrew and Remove the Frame Bolts
Using the appropriate tools, unscrew the bolts that secure the frame to the base of the treadmill. Set these bolts aside for reassembly.
Detach the Base from the Frame
Once the frame bolts are removed, carefully detach the base from the frame. Take care not to damage any wires or components during this step.
Detach the Motor and Motor Cover
Now it’s time to detach the motor and its cover from the treadmill.
Disconnect Motor Wires
Locate the wires that connect the motor to the treadmill’s internal components. Carefully disconnect these wires using wire cutters or strippers.
Loosen the Motor Belt Tension
Locate the motor belt tension adjustment bolts and loosen them. This will relieve the tension on the motor belt, making it easier to remove.
Unscrew and Remove the Motor
Using the appropriate tools, unscrew the bolts or screws that secure the motor to the treadmill. Carefully remove the motor from its position.
Remove the Motor Cover
If a motor cover is present, detach it from the motor by removing any screws or bolts. Set the cover aside for reassembly later.

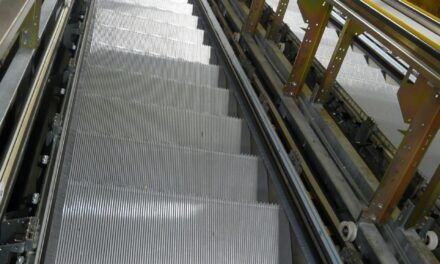
This image is property of runbryanrun.com.
Separate the Pulley and Flywheel
Now, it’s time to separate the pulley and flywheel from the motor.
Locate the Motor Flywheel
The motor flywheel is typically located at the end of the motor opposite the pulley. Locate the flywheel on your treadmill’s motor.
Detach Motor Flywheel Cover
If your treadmill has a cover over the motor flywheel, remove it by unscrewing or unclipping it. This will expose the flywheel for removal.
Unscrew and Remove the Motor Flywheel
Using the appropriate tools, carefully unscrew any bolts or screws that secure the motor flywheel in place. Gently remove the flywheel from the motor.
Separate the Pulley from the Flywheel
If the pulley is still attached to the flywheel, detach it carefully. Depending on the treadmill model, this may involve removing screws, bolts, or clips that secure the pulley in place.
Take Apart the Incline Mechanism
Next, it’s time to disassemble the incline mechanism of the treadmill.
Lower the Treadmill Deck
If your treadmill has an incline feature, lower the treadmill deck to its lowest position. This will make it easier to access the incline motor and mechanism.
Locate the Incline Motor and Mechanism
The incline motor and mechanism are typically located near the front or rear of the treadmill frame. Locate these components before proceeding.
Disconnect the Incline Motor Wires
Using wire cutters or strippers, carefully disconnect the wires that connect the incline motor to the treadmill’s internal components.
Remove the Incline Motor
Using the appropriate tools, unscrew any bolts or screws that secure the incline motor in place. Carefully remove the motor from its position.
Detach the Incline Motor Bracket
If the incline motor is attached to a bracket, carefully unscrew or unclip the bracket to separate it from the treadmill frame.

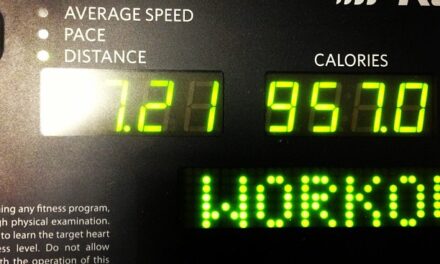
This image is property of runbryanrun.com.
Dismantle the Belt Tension System
Now it’s time to dismantle the belt tension system of the treadmill.
Locate the Tension Adjustment Bolts
The tension adjustment bolts are usually located on either side of the treadmill’s rear roller. Locate these bolts before proceeding.
Loosen the Tension Adjustment Bolts
Using the appropriate tool, loosen the tension adjustment bolts. This will reduce the tension on the treadmill belt, making it easier to remove.
Remove the Belt Tension Roller
Once the tension adjustment bolts are loosened, remove the belt tension roller. This roller applies tension to the treadmill belt during normal operation.
Release the Belt from the Rear Roller
With the belt tension roller removed, you can now release the treadmill belt from the rear roller. Carefully detach the belt from the roller, taking care not to damage it.
Remove Remaining Parts
At this point, you’ve disassembled the main components of the treadmill. However, there may still be some remaining parts that need to be removed.
Disconnect Any Remaining Wires
Inspect the treadmill and locate any remaining wires or connectors. Carefully disconnect these wires, ensuring that you keep track of their placement for easier reassembly later.
Unscrew and Remove Any Remaining Bolts
Inspect the treadmill for any remaining bolts or screws that secure components in place. Using the appropriate tools, unscrew these bolts and set them aside.
Detach and Take Apart Any Remaining Components
If there are any remaining components that haven’t been removed, carefully detach and take them apart. Be sure to keep track of all the disassembled parts, as they will need to be reassembled correctly.
By following these step-by-step instructions, you can successfully disassemble your treadmill. Remember to take your time and exercise caution throughout the process. Happy disassembling!

This image is property of runbryanrun.com.
