
Have you ever been in the middle of a workout on your trusty treadmill, only to have the belt suddenly come to a screeching halt? It can be frustrating and even dangerous if you’re not prepared. But fear not! In this article, we will guide you through the steps on how to fix a treadmill belt. Whether it’s a simple adjustment or a more involved repair, we’ve got you covered. So grab your tools, put on your DIY hat, and let’s get that treadmill belt back in perfect working order in no time!

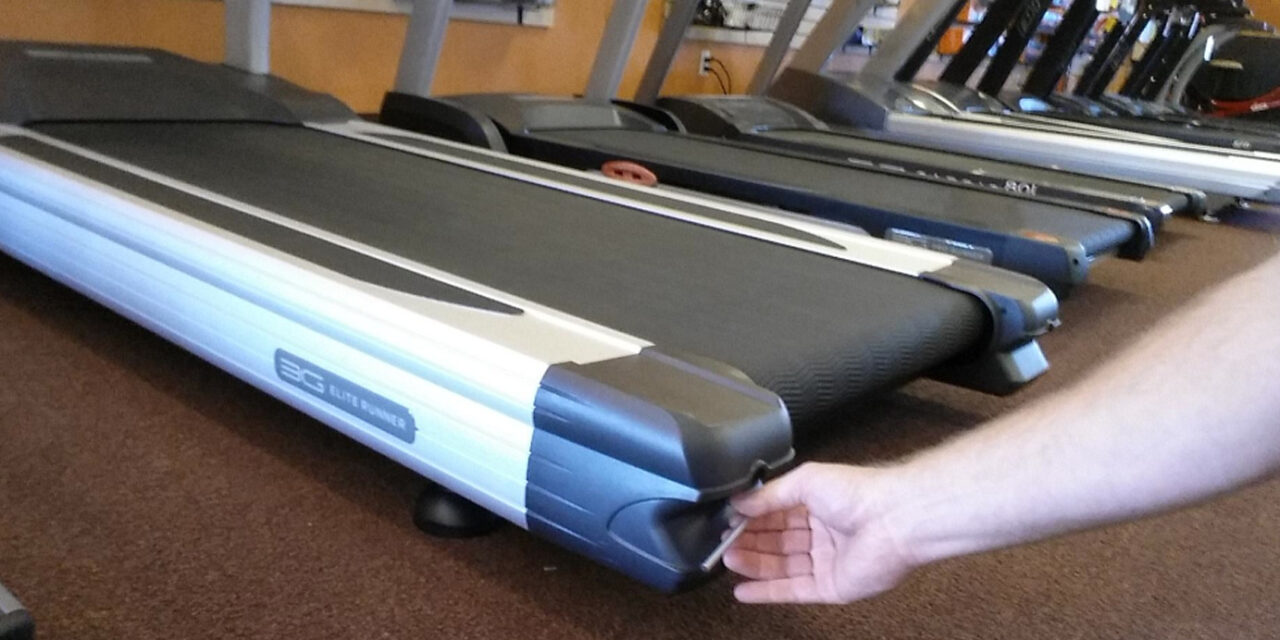
This image is property of garagegympro.com.
Inspecting the Treadmill Belt
When it comes to maintaining your treadmill, regularly inspecting the belt is essential. A worn-out or misaligned belt can not only affect the performance of your treadmill but also pose a safety risk. By following these simple steps, you can ensure that your treadmill belt is in optimal condition, providing a smooth and safe workout experience.
Checking for Belt Alignment
The first step in inspecting the treadmill belt is to check its alignment. Start by observing if the belt is centered on the treadmill deck. If you notice that the belt is veering towards one side or another, it may be misaligned. This misalignment can result in uneven wearing of the belt or even damage to the treadmill components.
To check the alignment, stand at the back of the treadmill and carefully observe the belt as it moves. If you notice any irregular movement or misalignment, it’s time to make some adjustments.
Adjusting the Belt Tension
Proper belt tension is crucial for the smooth operation of your treadmill. If the belt is too loose, it may slip or become unstable during use. On the other hand, an overly tight belt can lead to excessive friction and cause unnecessary strain on the motor.
To adjust the belt tension, begin by locating the belt tension adjustment bolts. These bolts are usually found at the back of the treadmill deck, near the motor area. With a wrench in hand, you can easily tighten or loosen the bolts as needed.
Tightening the Belt
If you notice that the treadmill belt is loose and slipping during use, it’s time to tighten it up. Loose belts can lead to an unstable and unsafe workout experience, so it’s important to address this issue promptly.
Locating the Belt Tension Adjustment Bolts
To tighten the belt, you need to find the belt tension adjustment bolts. These bolts can usually be found at the back of the treadmill deck, near the motor area. Take a moment to locate them, as you will need to access them to make the necessary adjustments.
Using a Wrench to Tighten the Bolts
Once you have located the belt tension adjustment bolts, grab a wrench that fits the bolt size. Turn the bolts clockwise in small increments to tighten the belt. Be cautious not to overtighten the belt, as this can lead to excessive strain on the motor and other components.
Keep an eye on the tension of the belt as you turn the bolts. Ideally, you want the belt to have a slight give when pressing down with your foot in the center of the belt. With the right tension, you can ensure optimal performance and a safe workout on your treadmill.

This image is property of i.ytimg.com.
Loosening the Belt
If you find that the treadmill belt is too tight, causing excessive friction or strain on the motor, it’s time to loosen it up. An overly tight belt can not only affect the performance of your treadmill but also reduce its lifespan.
Locating the Belt Tension Adjustment Bolts
To loosen the belt, you will need to locate the belt tension adjustment bolts. These bolts are typically found at the back of the treadmill deck, near the motor area. Take a moment to identify them before making any adjustments.
Using a Wrench to Loosen the Bolts
Once you have located the belt tension adjustment bolts, use a wrench that fits the bolt size. Turn the bolts counterclockwise in small increments to loosen the belt. As you make adjustments, be mindful of not making the belt too loose, as it can lead to slipping during workouts.
Monitor the tension of the belt as you turn the bolts. You should aim for a slight give when pressing down with your foot in the center of the belt. With the proper tension, you can ensure smooth operation and longevity of your treadmill.
Aligning the Belt
If you notice that your treadmill belt is not centered on the deck, it’s time to align it. Misalignment can result in uneven wearing of the belt or cause unnecessary strain on the treadmill components. By following these steps, you can easily align the belt and ensure optimal performance.
Checking for Midpoint Alignment
To check if your treadmill belt is properly aligned, stand at the back of the treadmill and observe the movement of the belt. If you notice that the belt is veering towards one side, it needs to be aligned.
Making Adjustments Using an Allen Wrench
To align the belt, you will need to make adjustments using an Allen wrench. At the back of the treadmill, locate the rear roller bolts on each side of the treadmill deck. These bolts control the alignment of the belt.
Using the Allen wrench, turn the rear roller bolts in small increments to adjust the alignment of the belt. Be mindful to make equal adjustments on both sides to maintain proper alignment. Keep checking the alignment as you make adjustments until the belt runs smoothly at the center of the treadmill deck.

This image is property of i.ytimg.com.
Lubricating the Belt
Proper lubrication of the treadmill belt is vital for its performance and longevity. Over time, friction between the belt and the deck can lead to increased wear and tear. By regularly lubricating the belt, you can reduce friction and ensure a smooth and quiet workout experience.
Choosing the Right Lubricant
When it comes to lubricating your treadmill belt, it’s important to use the right lubricant. Avoid using household oils or silicone sprays, as they can damage the belt and deck. Instead, opt for a silicone-based lubricant specifically designed for treadmills.
Silicone lubricants provide a non-stick surface that reduces friction and prolongs the life of your belt. They also help to reduce noise and create a smoother workout experience.
Applying the Lubricant to the Belt
To lubricate the treadmill belt, follow these steps:
- Ensure the treadmill is turned off and unplugged from the power source.
- Lift the treadmill belt slightly from the deck using your hand or a blunt object.
- Apply a small amount of silicone lubricant along the center of the belt, spreading it evenly.
- Gently lower the belt back onto the deck and ensure it is centered.
- Turn on the treadmill and let it run at a slow speed for a few minutes to allow the lubricant to distribute evenly.
Regularly lubricating your treadmill belt will not only enhance its performance but also extend its lifespan, saving you from costly repairs or replacement.
Checking the Motor Belt
In addition to inspecting the treadmill belt, it is essential to check the motor belt. The motor belt is responsible for transferring power from the motor to the treadmill belt, ensuring smooth operation. Regularly inspecting the motor belt will help identify any signs of wear and tear, allowing you to address the issue promptly.
Locating the Motor Belt
To check the motor belt, you will need to access the motor area of your treadmill. Refer to the manufacturer’s manual for specific instructions on accessing the motor belt. Once you have access, visually inspect the motor belt for any signs of fraying, cracking, or excessive wear.
Inspecting for Wear and Tear
During your inspection, look for any signs that indicate the motor belt needs to be replaced. These signs may include visible damage, such as fraying or cracking, or noticeable slippage during use. If you notice any issues with the motor belt, it is recommended to consult a professional or contact the treadmill manufacturer for further guidance.
Regularly inspecting the motor belt will help ensure that the power transfer from the motor to the treadmill belt remains efficient and reliable.

This image is property of i.ytimg.com.
Replacing the Belt
If your treadmill belt is significantly worn out or damaged, it may be necessary to replace it. While replacing a treadmill belt may seem like a daunting task, with the right steps, you can successfully install a new belt and restore your treadmill to optimal condition.
Ordering the Correct Replacement Belt
Before replacing the treadmill belt, it is crucial to order the correct replacement belt for your specific treadmill model. Refer to the manufacturer’s manual or contact the treadmill manufacturer directly for guidance on the appropriate replacement belt.
Once you have the correct replacement belt, you can proceed with the installation process.
Removing the Old Belt
To remove the old treadmill belt, follow these steps:
- Ensure the treadmill is turned off and unplugged from the power source.
- Lift the treadmill belt from the deck using your hand or a blunt object.
- Carefully cut the belt in a straight line along the center using a utility knife or scissors.
- Once the belt is cut, remove it from the deck and set it aside.
Installing the New Belt
To install the new treadmill belt, follow these steps:
- Clean the treadmill deck thoroughly to remove any debris or dirt.
- Lay the new belt evenly on the deck, ensuring it is centered.
- Slowly lower the belt onto the deck, aligning it with the front and rear rollers.
- Ensure the belt is straight and aligned with the treadmill frame.
- Carefully insert the edges of the belt under the side rails of the treadmill deck.
- Turn on the treadmill and let it run at a slow speed to allow the belt to distribute evenly.
Replacing a worn-out treadmill belt will not only improve the performance of your treadmill, but it will also provide a safer and more comfortable workout experience.
Adjusting the Belt Tracking
Maintaining proper belt tracking is crucial for the optimal operation of your treadmill. Belt tracking refers to the alignment and stability of the belt as it moves on the treadmill deck. Incorrect belt tracking can cause slippage, uneven wear, and potential damage to the treadmill components. By following these steps, you can easily adjust the belt tracking and ensure a smooth running experience.
Checking the Tension on Both Sides of the Belt
Start by checking the tension of the belt on both sides. Ensure the treadmill is turned off and unplugged for safety. With your hand, press down on the belt at the center of the treadmill deck and check the tension on each side. The belt should have equal tension on both sides, without any slack or tightness.
If you notice a significant difference in tension between the two sides, you will need to make adjustments to correct the belt tracking.
Making Small Adjustments at a Time
To adjust the belt tracking, use the Allen wrench to turn the appropriate adjustment bolts. Begin by making small adjustments on the side of the belt that needs to be aligned. Turn the adjustment bolts in small increments, allowing the belt to stabilize after each adjustment.
Continuously check the belt tracking by turning on the treadmill at a slow speed and observing the movement of the belt. Repeat the adjustment process as needed until the belt runs smoothly and remains centered on the treadmill deck.
Adjusting the belt tracking may require some trial and error, so be patient and make small adjustments at a time to achieve the desired alignment.

This image is property of support.horizonfitness.com.
Calibrating the Belt Tension
To ensure the optimal performance and longevity of your treadmill belt, it is essential to calibrate the belt tension. Calibrating the belt tension involves setting the correct amount of tension to achieve the best performance and reduce strain on the motor. By following these steps, you can easily calibrate the belt tension and enjoy a smooth workout experience.
Using the Tension Calibration Tool
Many treadmill models come with a tension calibration tool that helps you set the appropriate belt tension. Refer to the manufacturer’s manual or contact the treadmill manufacturer to obtain the specific tension calibration tool for your treadmill.
Following the Manufacturer’s Instructions
Once you have the tension calibration tool, follow the manufacturer’s instructions for proper use. The calibration process may involve attaching the tool to the treadmill and adjusting the belt tension until it aligns with the recommended settings.
Following the manufacturer’s instructions for calibrating the belt tension will ensure that your treadmill operates at its optimal level, providing a safe and efficient workout experience.
Maintaining a Properly Functioning Belt
Once you have inspected, adjusted, and calibrated your treadmill belt, it’s essential to maintain its optimal condition for long-lasting performance. Regular cleaning and lubrication, along with periodic checks for loose bolts or parts, will help keep your treadmill belt in top shape.
Regular Cleaning and Lubrication
Dirt, debris, and accumulated sweat can affect the performance and lifespan of your treadmill belt. It is recommended to regularly clean the belt surface using a soft cloth or sponge and mild detergent. Avoid using harsh chemicals or abrasive materials that can damage the belt or deck.
Additionally, continue to lubricate the treadmill belt periodically using a silicone-based lubricant. Refer to the previous section on lubricating the belt for detailed instructions on how to apply the lubricant properly.
By cleaning and lubricating your treadmill belt on a regular basis, you can minimize friction, reduce wear and tear, and extend the life of your treadmill.
Checking for Loose Bolts or Parts
Periodically inspect your treadmill for any loose bolts or parts that may affect the stability and performance of the belt. Using a wrench or appropriate tools, carefully tighten any loose bolts to ensure a secure and safe workout.
Regular maintenance and checks will help identify any potential issues before they become major problems, allowing you to address them promptly and maintain a properly functioning treadmill belt.
In conclusion, properly inspecting and maintaining your treadmill belt is essential for the optimal performance and longevity of your treadmill. By regularly checking for belt alignment, adjusting tension, aligning the belt, lubricating, checking the motor belt, replacing when necessary, adjusting belt tracking, calibrating tension, and maintaining the belt, you can ensure a safe and smooth workout experience. Remember to follow the manufacturer’s instructions and perform regular cleaning and maintenance to keep your treadmill belt in top shape. With these steps, you can enjoy countless workouts on your treadmill without any issues. Happy exercising!


