
Are you ready to say goodbye to your old Proform treadmill? Whether you’re looking to upgrade to a newer model or simply need to make some space in your home, learning how to disassemble your Proform treadmill is an essential skill. In this article, we will guide you through the step-by-step process of safely disassembling your treadmill, ensuring that you can remove it with ease and peace of mind. With our expert tips and instructions, you’ll be able to tackle this task confidently, allowing you to reclaim your space and possibly even make some extra cash by selling or donating your used treadmill. Let’s get started on this exciting journey together!
Preparing for Disassembly
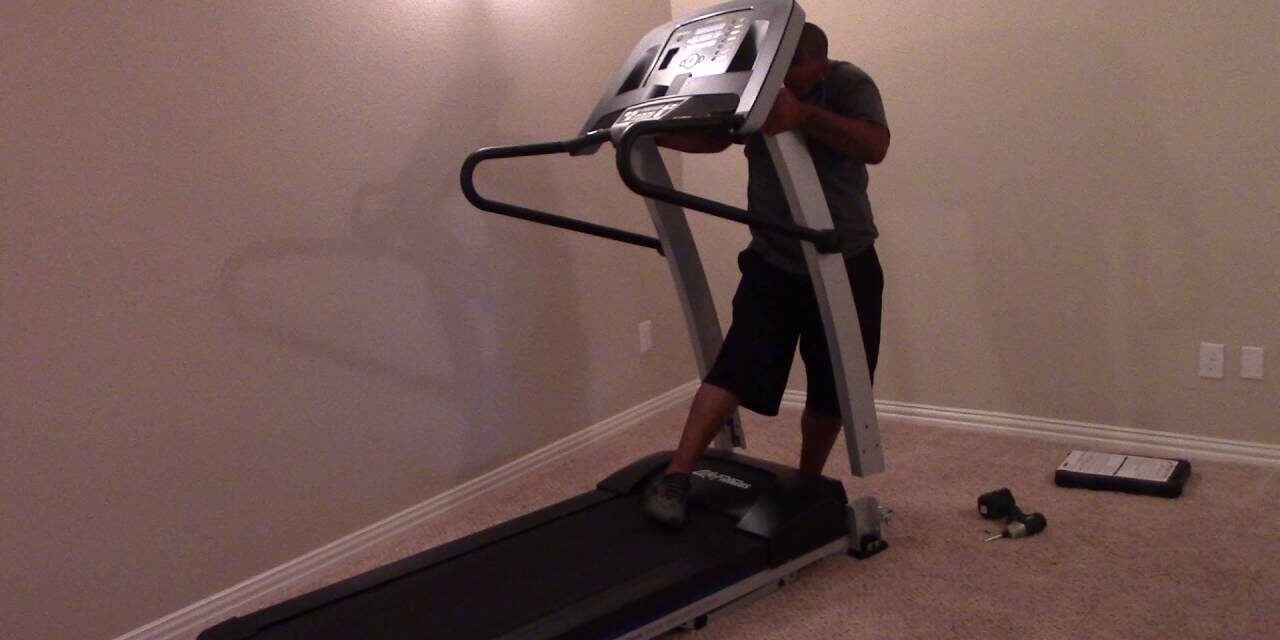
Before you begin disassembling your Proform treadmill, there are a few important steps you need to take to ensure a smooth and safe process.

This image is property of runbryanrun.com.
Gather necessary tools
First and foremost, gather all the necessary tools you will need for this disassembly project. This may include screwdrivers (both Phillips and flathead), Allen wrenches, pliers, and a socket wrench set. Having all the tools ready and accessible will save you time and frustration later on.
Ensure safety precautions
Safety should always be a top priority when working with any electrical equipment. To ensure your own safety, be sure to unplug the treadmill from its power source and disconnect any batteries if applicable. This will prevent any accidental electrical shocks while disassembling the treadmill.
Disconnect power source
Once you have gathered your tools and ensured your safety, disconnect the treadmill from its power source. Unplugging the power cord from the wall or disconnecting any batteries will eliminate the risk of electric shock during the disassembly process. Safety should always come first!
Removing the Console
The console is the main control panel of your Proform treadmill. To begin disassembling the treadmill, you will first need to remove the console.
Locate console fasteners
Inspect the console for any fasteners or screws that are holding it in place. These may be located on the front or underside of the console. Taking a closer look and identifying these fasteners will make it easier for you to remove the console.
Remove console screws
Using the appropriate screwdriver or Allen wrench, carefully remove the screws holding the console in place. Keep these screws in a safe place as you will need them later for reassembly. Once the screws are removed, you can move on to the next step.

This image is property of runbryanrun.com.
Detach console from frame
With the screws removed, gently detach the console from the frame of the treadmill. Take care not to force anything or damage any wires connected to the console. If there are any wire connections, disconnect them carefully and set the console aside. You are now ready to move on to disassembling the frame.
Taking Apart the Frame
The frame of your Proform treadmill holds all the components together. To fully disassemble the treadmill, you will need to take apart the frame.
Identify frame components
Take a moment to familiarize yourself with the different components of the treadmill frame. This may include side rails, motor covers, uprights, and crossbars. Understanding the layout of the frame will make it easier for you to disassemble it.
Detach side rails
Start by detaching the side rails from the frame. Depending on the model of your Proform treadmill, this may involve removing screws or clips. Carefully unscrew or unclip the side rails and set them aside.
Remove motor cover
Next, locate and remove the motor cover. This cover protects the treadmill motor from dust and debris. To remove it, look for any screws or clips securing the cover in place. Once removed, the motor will be exposed and ready for disassembly.
Separate uprights and crossbars
To fully dismantle the frame, you will need to separate the uprights and crossbars. These may be held together by screws or bolts. Carefully remove these fasteners and detach the uprights and crossbars from each other. Take your time and keep track of all the screws and bolts for reassembly later on.
Disassembling the Belt and Deck
The belt and deck are crucial components of your Proform treadmill. To disassemble them, follow these steps.

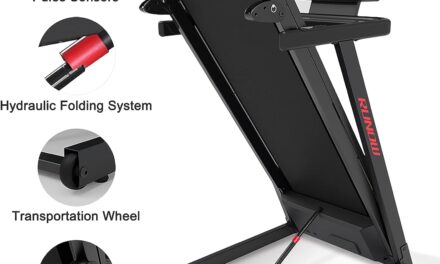
This image is property of i.ytimg.com.
Release tension on the belt
Before removing the belt, it’s important to release the tension on it. Look for the tension adjustment bolts located on both sides of the treadmill near the rear roller. Loosen these bolts evenly to create slack in the belt.
Remove rear roller
With the tension released, you can now remove the rear roller. This roller is typically attached to the frame with screws or clips. Unscrew or unclip the rear roller and carefully set it aside.
Take off belt from the front roller
Once the rear roller is removed, take off the belt from the front roller. Gently roll the belt off the roller, being careful not to damage it. Set the belt aside for cleaning or replacement if necessary.
Remove deck screws
Next, locate and remove the screws holding the deck in place. These screws are typically located on each side of the deck. Carefully unscrew them, ensuring none are left behind.
Separate deck from frame
With the screws removed, you can now separate the deck from the frame. Lift the deck away from the frame, being mindful of any wires or cables that may still be connected. Disconnect these carefully and set the deck aside.
Dismantling the Motor
The motor is the heart of your Proform treadmill. To dismantle it, follow these steps.
Disconnect motor wires
Before removing the motor, you will need to disconnect the wires connected to it. Take note of their placement and connections, or take pictures for reference later. Carefully disconnect the wires to free the motor.
Detach motor mounts
With the wires disconnected, locate the motor mounts. These mounts secure the motor to the frame of the treadmill. Remove any screws or bolts holding the mounts in place, and gently detach the motor from the frame.
Remove motor from the frame
With the motor mounts removed, carefully lift the motor away from the frame. Set it aside for cleaning or repair if necessary. Congratulations, you have successfully dismantled the motor!
Taking Apart the Incline System
If your Proform treadmill has an incline system, follow these steps to disassemble it.
Lower the incline setting
Before disassembling the incline system, lower the incline setting to its lowest position. This will make it easier to access and remove the components.
Remove incline motor cover
Inspect the incline motor and locate the cover protecting it. This cover is typically held in place by screws or clips. Remove these fasteners and carefully detach the cover.

This image is property of runbryanrun.com.
Detach incline motor from frame
Once the cover is removed, you can access the incline motor. Locate any screws or bolts securing the motor to the frame and remove them. Gently detach the incline motor from the frame and set it aside.
Removing Other Components
With most of the major components disassembled, there may still be a few smaller parts and components left. Follow these steps to remove any remaining components.
Take out any remaining screws
Inspect the treadmill carefully for any remaining screws. These may be located on the frame, motor, or other components. Remove any remaining screws, being careful not to lose them.
Remove drive belt
If your Proform treadmill has a drive belt, now is the time to remove it. Follow the manufacturer’s instructions or consult the user manual for the proper steps to remove the drive belt.
Detach any remaining wires or cables
Check for any remaining wires or cables that may still be connected. Carefully disconnect these, ensuring you don’t damage them in the process. Take note of their connections or take pictures for reference.
Remove any additional parts
Inspect the treadmill thoroughly for any additional parts that need to be removed. This may include smaller components like pulleys, brackets, or covers. Remove these carefully, keeping track of all the parts for reassembly later on.
Cleaning and Storage
Now that you have successfully disassembled your Proform treadmill, it’s time to clean the parts and prepare them for storage.
Clean the disassembled parts
Using a damp cloth, wipe down all the disassembled parts to remove any dust or debris. For any stubborn stains or dirt, you may need to use a mild detergent or cleaner. Be sure to dry the parts thoroughly before storage to prevent any rust or damage.
Organize and label the parts
To make reassembly easier, organize all the disassembled parts in a systematic manner. Group similar parts together and label them if needed. This will help you find the correct components when it’s time to put the treadmill back together.
Consider protective storage
To ensure the longevity of your disassembled treadmill parts, consider storing them in a protective manner. Use plastic bags or containers to keep smaller parts organized and prevent them from getting lost. For larger components, such as the frame or motor, cover them with a clean cloth or plastic sheet to protect them from dust or moisture.
Reassembly Tips
When the time comes to reassemble your Proform treadmill, follow these tips to ensure a smooth and successful process.
Follow reverse order of disassembly
The best way to tackle reassembly is to follow the reverse order of disassembly. Refer back to your notes, pictures, or the user manual to guide you through the process. Start with the last component you removed and work your way back to the first.
Refer to user manual or diagrams
If you find yourself unsure about certain steps or connections, don’t hesitate to consult the user manual. It will provide detailed instructions and diagrams specific to your Proform treadmill model. Following these guidelines will help you avoid mistakes and save time.
Use proper torque for screws/nuts
When reassembling your treadmill, ensure that you use the proper torque for all screws and nuts. Over-tightening or under-tightening can lead to issues down the line. Refer to the user manual or consult a technician if you are unsure about the torque specifications for your specific model.
Seeking Professional Help
If you feel unsure or overwhelmed by the disassembly or reassembly process, it’s always a good idea to consult a professional technician. They have the expertise and experience to handle complex issues and ensure a safe and successful disassembly and reassembly process.
If unsure, consult a technician
If you encounter any difficulties or have concerns about any aspect of the disassembly or reassembly process, don’t hesitate to reach out to a professional technician. They can provide guidance, answer any questions, and help you navigate any challenges you may encounter.
Consider professional assembly
If you would rather avoid the hassle of disassembling and reassembling your Proform treadmill yourself, consider hiring a professional for the job. They will have the necessary tools and expertise to handle the task efficiently and correctly, giving you peace of mind and saving you time and effort.
Disassembling a Proform treadmill can be a daunting task, but by following these steps and taking the necessary precautions, you can successfully dismantle your treadmill for cleaning, repair, or storage. Remember to always prioritize safety and consult professional help if needed. Happy disassembling!
